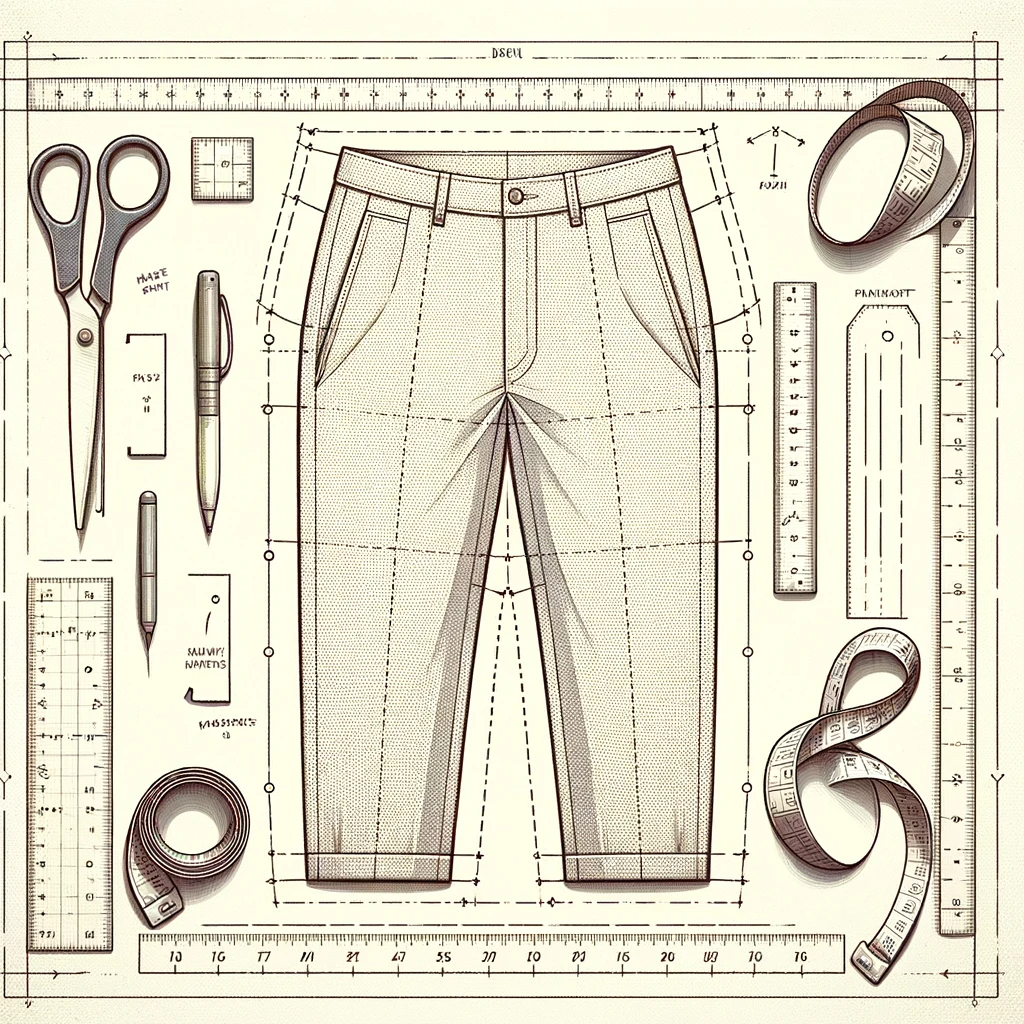
If you are a beginner in the world of sewing and tailoring, cutting trousers may seem like a daunting task. However, with the right tools and techniques, it can be a simple and rewarding process. In this article, we will walk you through the steps of cutting a pair of trousers from scratch, including measuring, marking, and cutting the fabric.
Introduction to Trouser Cutting
Before we get into the specifics of cutting a pair of trousers, let's go over some basic concepts and terminology that will be useful to know.
Basic Trouser Anatomy
Trousers consist of several parts, including the waistband, the fly, the front and back panels, the pockets, and the legs. Each of these parts requires careful measuring and cutting to ensure a proper fit.
Tools and Materials
To cut a pair of trousers, you will need a few basic tools and materials, including:
- Fabric (typically a woven cotton or wool blend)
- Measuring tape
- Straight pins
- Scissors
- Chalk or fabric marker
- Sewing machine (optional)
Measuring for Trousers
The first step in cutting a pair of trousers is taking accurate measurements. This will ensure that the trousers fit properly and are comfortable to wear. Here are the measurements you will need to take:
Waist Measurement
Measure around the natural waistline, which is usually about an inch above the navel. Make sure the measuring tape is snug but not too tight.
Hip Measurement
Measure around the fullest part of the hips, usually about 7-9 inches below the waist.
Inseam Measurement
Measure from the crotch to the desired length of the trousers. This measurement should be taken while standing straight with your feet shoulder-width apart.
Outseam Measurement
Measure from the waist to the desired length of the trousers. This measurement should be taken while standing straight with your feet shoulder-width apart.
Marking and Cutting the Fabric
Once you have taken your measurements, it's time to mark and cut the fabric. Here's how:
Step 1: Mark the Fabric
Lay out the fabric on a flat surface, making sure it is free of wrinkles and creases. Use the chalk or fabric marker to mark the measurements onto the fabric, using the measuring tape as a guide.
Step 2: Cut the Fabric
Using the straight pins, pin the fabric together along the chalk marks. Cut along the pinned lines with the scissors, making sure to cut straight and evenly.
Step 3: Sew the Trousers
Once the fabric is cut, it's time to sew the trousers together. Follow the instructions that came with your pattern or use a sewing machine to sew the seams together. Make sure to sew the waistband, fly, and pockets in the correct order.
Conclusion
Cutting a pair of trousers may seem daunting at first, but with the right tools and techniques, it can be a simple and rewarding process. By taking accurate measurements and following the steps outlined in this article, you can create a custom-fitted pair of trousers that will fit you perfectly.
FAQs
- Do I need a sewing machine to cut trousers?
- While a sewing machine can make the process easier and faster, it is not strictly necessary. You can sew the trousers together by hand if you prefer.
- What type of fabric should I use for trousers?
- Woven cotton or wool blends are the most common fabrics used for trousers. Choose a fabric that is comfortable and durable.
- Can I adjust the length of the trousers after they are cut?
- Yes, you can adjust the length of the trousers by hemming them. Simply fold the fabric up to the desired length and sew a new hem.
- How do I ensure a proper fit when cutting trousers?
- Taking accurate measurements is key to ensuring a proper fit. Make sure to measure your waist, hips, inseam, and outseam before cutting the fabric.
- Can I alter the waistband or other parts of the trousers to fit better?
- Yes, you can make alterations to the waistband, pockets, and other parts of the trousers to fit better. However, this may require additional sewing skills and techniques.

0 comments