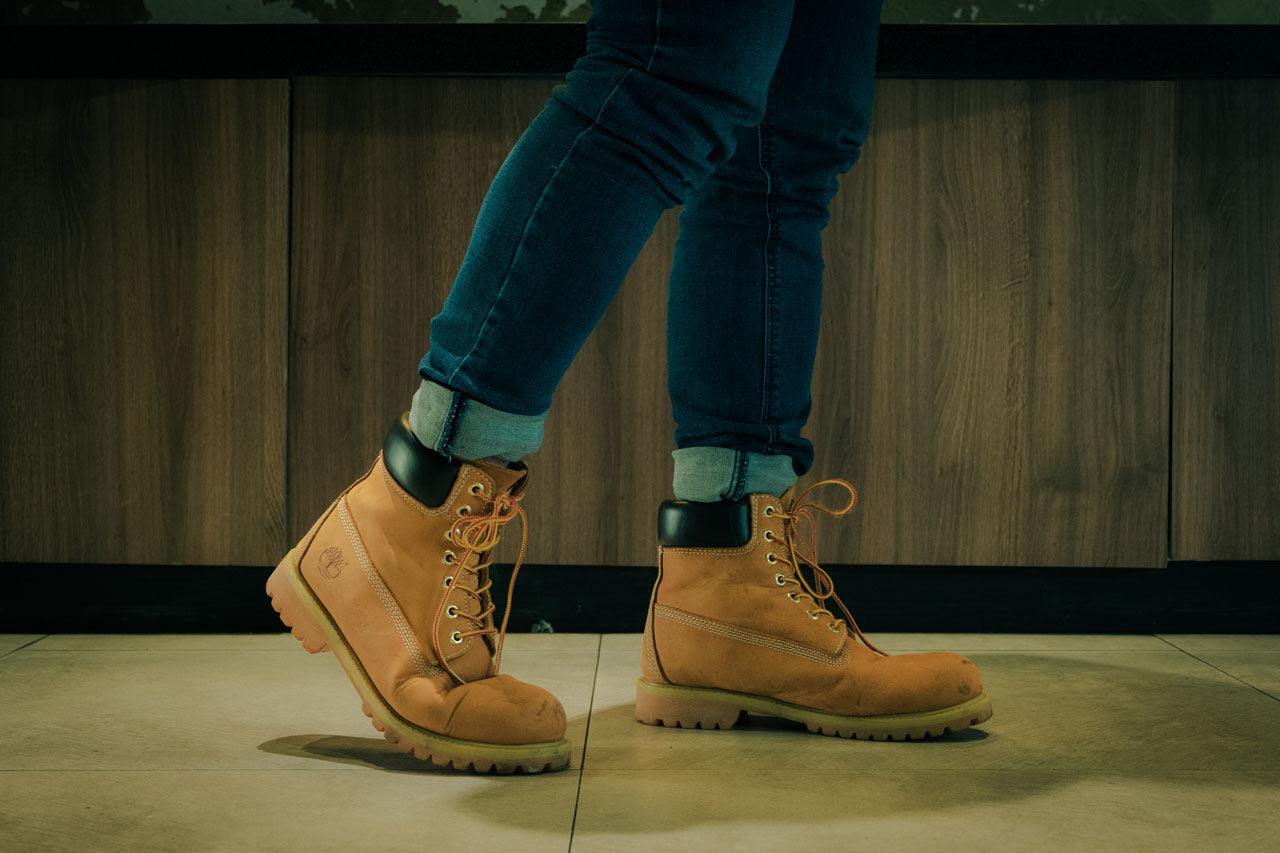
Timberland boots are not just a fashion statement; they are also known for their durability and comfort. Whether you're planning a rugged outdoor adventure or simply want to make a fashion statement, knowing how to tie Timberland boots correctly is essential. In this comprehensive guide, we'll walk you through the process step by step, ensuring your boots stay secure and comfortable all day long.
1. Introduction

Timberland boots have been a symbol of quality and style for decades. Tying them correctly not only ensures they stay on your feet but also adds to your overall look. Whether you're wearing boots for work, hiking, or simply strolling around town, proper lacing is crucial.
2. Why Properly Tying Your Timberland Boots Matters
Tying your Timberland boots correctly matters for several reasons. It:
- Prevents discomfort and blisters
- Provides ankle support
- Maintains the boots' shape
- Enhances the overall look
3. What You'll Need
Before we dive into the step-by-step process, make sure you have the following items ready:
- A pair of Timberland boots
- Laces of the appropriate length
- A flat surface to work on
4. Step 1: Choose the Right Laces
Select laces that match the length of your boots. Longer laces allow for more complex lacing techniques, while shorter laces are ideal for a basic tie.
5. Step 2: Prepare Your Boots
Place your boots on a flat surface with the tongues pulled up. Ensure they are snugly placed on your feet.
6. Step 3: Begin the Lacing
Insert one lace end into the bottom eyelets of your boot, ensuring equal lengths on both sides.
7. Step 4: The Cross-Over Technique
Cross one lace over the other and pull it through the opposite eyelet. Repeat this process until you reach the top of the boot.
8. Step 5: Securing the Knot
Once you've reached the top, tie a secure knot using a simple bow or a double knot, depending on your preference.
9. Step 6: Tuck in the Ends
Tuck the remaining lace ends into the boot to keep them secure and prevent tripping.
10. Step 7: Adjusting the Fit
Ensure the laces are snug but not too tight. Adjust the tension to your comfort level.
11. Step 8: Final Checks
Inspect your laces and knots to make sure they are secure. Ensure the boots fit comfortably.
12. Tips for Maintaining Tied Timberland Boots

To keep your Timberland boots in great condition, follow these tips:
- Clean boots regularly
- Condition the leather
- Replace laces when worn
- Store them in a cool, dry place
13. Troubleshooting Common Issues
If you encounter issues like slipping laces or uncomfortable pressure points, refer to our troubleshooting guide for solutions.
14. Conclusion
Congratulations! You now know how to tie Timberland boots properly. Whether you're gearing up for a challenging hike or simply want to make a fashion statement, your boots will stay secure and comfortable all day long.

15. FAQs
Q1: Can I use any type of lace for my Timberland boots?
Ans: While you have some flexibility, it's best to choose laces that are durable and complement the style of your boots.
Q2: How do I clean my Timberland boots?
Ans: Clean them with a soft brush and a leather cleaner. Avoid using harsh chemicals.
Q3: Can I wear Timberland boots in the rain?
Ans: Yes, Timberland boots are waterproof, making them suitable for wet conditions.
Q4: How often should I replace the laces?
Ans: Replace laces when they show signs of wear or damage to maintain a secure fit.
Q5: Are Timberland boots true to size?
Ans: It's recommended to try them on before purchasing, as sizing can vary slightly depending on the style.


0 comments